This poor guy made quite the trip with us from St. Louis to Chicago and patiently waited to be cleaned up and painted, but I am happy to announce that it is finally done!
I am in love with the color and am so grateful to have a place to store our growing pile of baby clothes
The original hardware is my favorite
Check out the smoke and spiderweb filled nasty before
What do you think? I'll be posting the actually process a little later with some lessons learned.
You might remember this recent post about my love for florals. Well, after many months of sitting around in a corner of our apartment, I finally glammed up my cane back chairs and I am loving how they turned out.
Here's an idea of what they once were (sooo dirty)
This weekend I started working on our little home office (a.k.a husband's second home for the next 3 years of law school). As much as I would love to make this a home office out of the pages of Adore magazine, this room's main priority is being the best work space for my husband. So, we're keeping it simple, a no fuss kind of office space.
My husband's only request was that the surface space be large. I was way ahead of the guy. A long while ago I knew I wanted a desk that felt spacious and natural. I did not want a chunky piece of furniture with a million drawers and a hutch, but something that felt light and was off the ground. I love these looks below if I was creating an office for me and not a manly man.
So. . . I decided to build my own desk. After looking at legs, table tops, and prices it seemed a simple decision to go with this Ikea table top and these legs. Then, just days after I purchased my desk, and was waiting for it to ship, the design gods told Bryn from Bryn Alexandra to post an office project she was working on where she built using the same table top. I followed her directions in staining the top and here is what we are looking at now. . .
I threw some things on the desk to give you an idea of it's awesome potential, but my husband's books quickly replaced my design books.
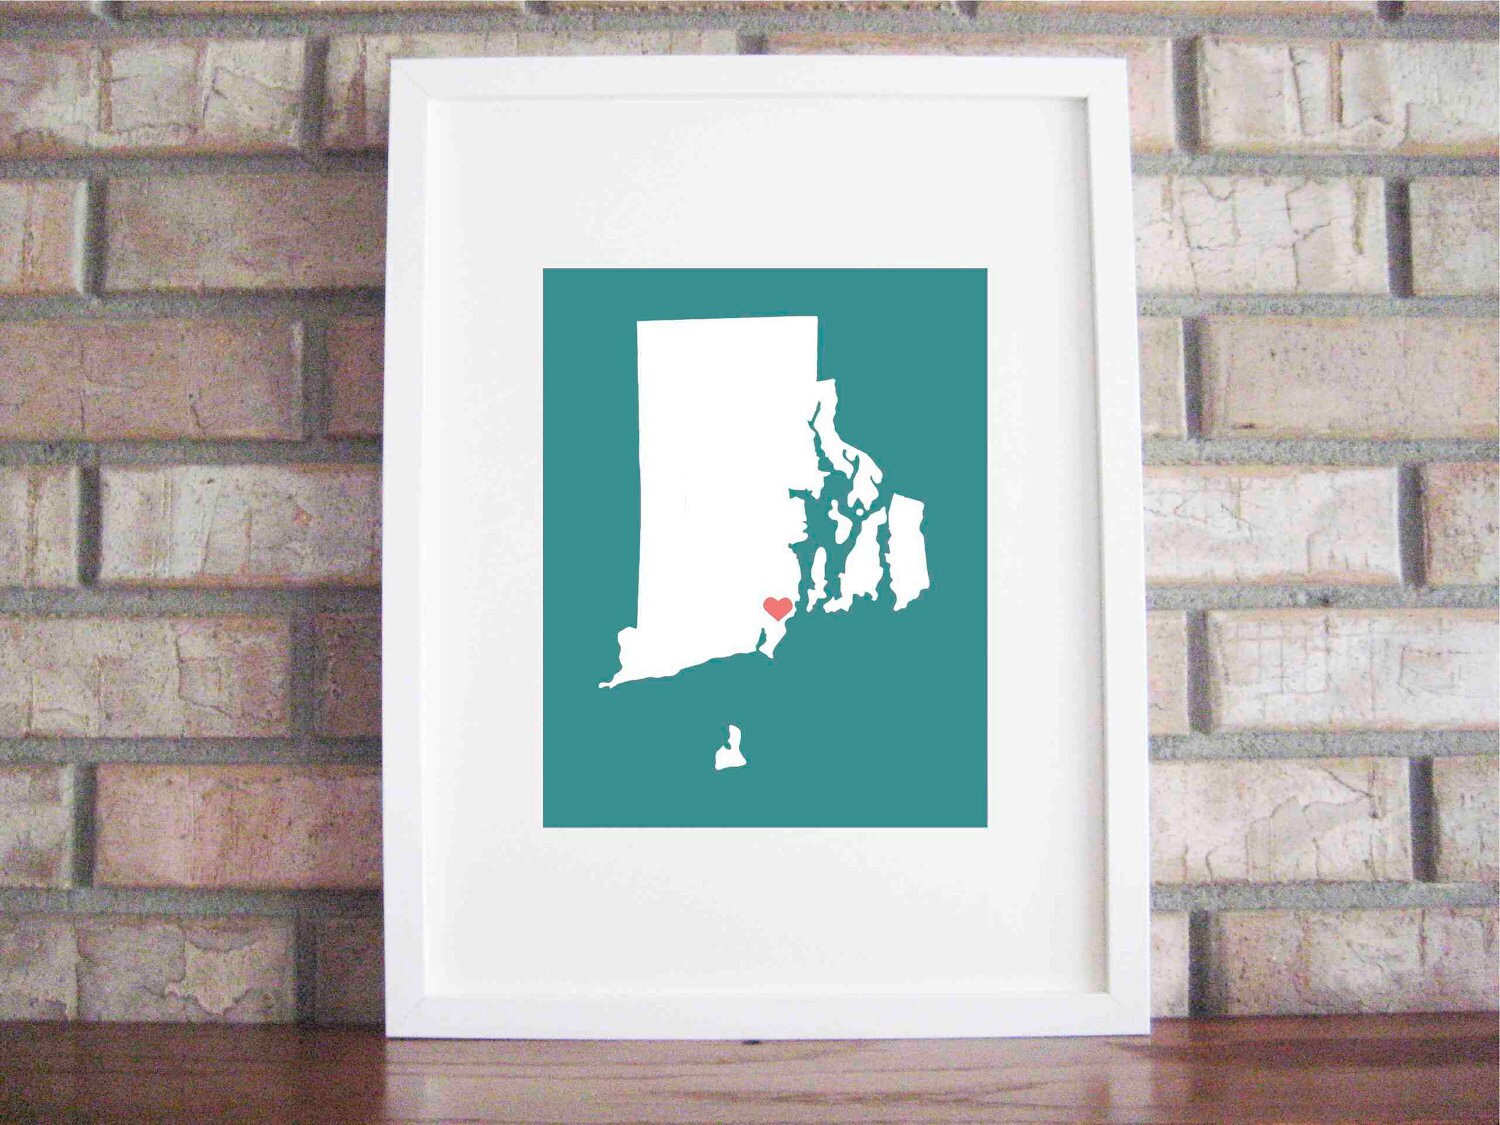
I've thought about purchasing prints from Lily Gene for quite some time now. They are a great price at only $25 and they look clean and professional.
I know my husband and I will do a bit of state hoping over our life together and I thought having pictures of the states and cities where we've lived would be a fun timeline to display on a wall in our home.
The other night, I was cleaning out my supplies closet and decided I would try to make my own I-Heart-My-State print with a left over 8x10 canvas.
I googled my states I wanted and printed them off. I chose Utah (where we currently live) and Missouri (where we are moving in 2 months)
I taped the printed state to the back of the canvas and then held it up to the window and traced the state with a pencil. The Utah one I used a lamp because the sun had already set.
I then chose my colors and got to painting. I did one coat of the background and then did a coat of white filling in the traced state. I then did another coat of each and let it all dry.
Lastly, I grabbed a fine tipped red Sharpie and drew a heart in the location of the city we live in and will live in when we move to Missouri. The first try I was able to get perfectly shaped hearts, but the size what a bit small. I tried making the hearts a bit bigger and ended up with some not-so-perfect hearts.
Here's the final look:
Now here is what I am really excited about, On the back of each I have a 3x5 card that I've written all the important dates that have happened in our lives while we have lived in each location. For the Utah canvas, I have listed mine and my husband's graduation dates, our wedding date, etc. On our future states I will list birth of each children, Law School Graduation, new jobs, etc. I think it will be a really fun thing for our family to have as we grow.
We've rented our couch from our apartment complex since we got married because we didn't have the money to spend on a couch we loved and we weren't going to buy a gross with who knows what's on it couch that we could afford. So, Royal Blue became apart of our family. It has held up great, is clean and that velvet fabric just screams classy, doesn't it?
The Old
With a move to Law School coming in a few months, I decided we needed to find a couch to own. Everyday I would skim the local online classifieds, but no one's junk ever appealed to me. I would not purchase anything that was sagging, lived with any pet or was an ugly color.
Then I found it. The couch. It was gray (nice neutral color), no saggy cushions, only 2 miles from our house and only $50. We'd missed out on two other great deals the week before so my husband jumped on it and within an hour of it being posted that couch was
My husband and I spent the next couple of days washing the cushion covers, lint rolling the entire baby, vacuuming, febreeze-ing and repeating that process until I felt comfortable sitting on a couch that had been previously owned. BUT we sat down only to discover that the back was broken. I was bummed. I had come to like the couch a lot. We thought about fixing it ourselves and I was a bit against it. We didn't know what was underneath that fabric and if we could even fix it once we found out the problem, but my husband took charge and within 20 minutes we had the back ripped up.
I don't have pics of the before or during process, but my husband snapped this picture on his phone. It was after the surgery, but before he closed up the wound. I went to work yesterday morning with a couch that had no back sitting upside down in my living room and at 2pm I got a text from my husband telling me it was done. I was so surprised to hear it had gone so fast, but then to see the couch in person and have it look like it had never been ripped apart was a shocker.
This is the after picture my husband texted me while I was at work.Check out that straight back. You'd never know it just had major surgery.
Our New Old Couch!
That puppy is tough and I can't wait to get my new colorful pillow covers on it. That gray will look great in whatever apartment we move into next and that couch will definitely hold us through 3 years of law school. I also owe a big thank you to my husband for being wonderful enough to take on a job I was scared to do and thought couldn't be done by inexperienced us. Thanks Babe!
Happy Friday Everybody! In celebration of Cinco de Mayo yesterday I decided to give my blog an all day Siesta. Now on to today's post:
I have always loved the look of Caitlin Wilson’s signature pillows from Caitlin Wilson Design. She has done a few orders here and there for people requesting on her blog and I never took the plunge. They are gorgeous and can be used in so many design styles, especially with all the different colors available.
A while back I decided to tackle my own DIY for these pillows and I thought I would finally share the tutorial.
I chose to make a navy blue pillow and dark pink pillow. I made those with just a normal envelope opening in the back (Caitlin's pillows have zippers). I bought some iron-on heat bonding tape and ribbon from JoAnn's.
To get the greek key design I just kind of eyeballed with a measuring tape about where I would like the ribbon to go. I then measured and cut out 4 strips of the three sizes I needed. I can't remember the length of the long pieces, but the little pieces I cut 3 inch strips and then 4 inch strips to wrap a 1/2 inch around the 3 inch ones. I'm sorry that might sound really complicated.
I assume The Caitlin Wilson pillows actually have the ribbon sewn on to them, but I thought I would give the heat bonding a try. I cut one inch squares of that heat bondingtape and bonded the four long strips together.
I then added a 3 inch strip and a 4 inch strip. and bonded those together.
This is what the back looks like.
Here are all of the ribbon strips bonded together.
I then covered the entire back of my ribbon greek key design with bonding tape, flipped it over, positioned it where I would like it and got to ironing.
Voila!
And Voila!
And yes, I do not have inserts in them yet, but I still love them.
Our headboard is finally complete, and we LOVE IT! We chose a gray color because we wanted a neutral base that would allow us to change out our bedding to whatever we wanted in the future and it would always look good. Centsational Girl's tutorial I found to be the most helpful out of the many tutorials out there. She gives an easy step by step with helpful pictures. Check out her tutorial here.
Know that you do not need every tool in the world. We used our Ikea toolkit and borrwowed my Dad's drill. Lowe's cut the wood for the headboard and the legs for FREE because they were straight cuts.
Here is what we purchased and the dimensions (for a full):
- 1/2" plywood- 55x29
- 1" foam- 55x29
- batting- "twin", it was plenty for us to double layer (at least six inches larger than your foam/wood measurements)
- fabric in dark gray- 70x 41 (add 12 inches to foam/wood measurements and then a couple more inches for your buttons)
- staple gun w/ staples
- plastic buttons- I wanted 2 rows of 4 (button maker included)
- brackets
-nuts and bolts
Making the buttons was my favorite part because they were fun, easy and looked professional when I was done.
First, mark where you want your buttons to be on your plywood and then take a super small drill bit and drill the holes.
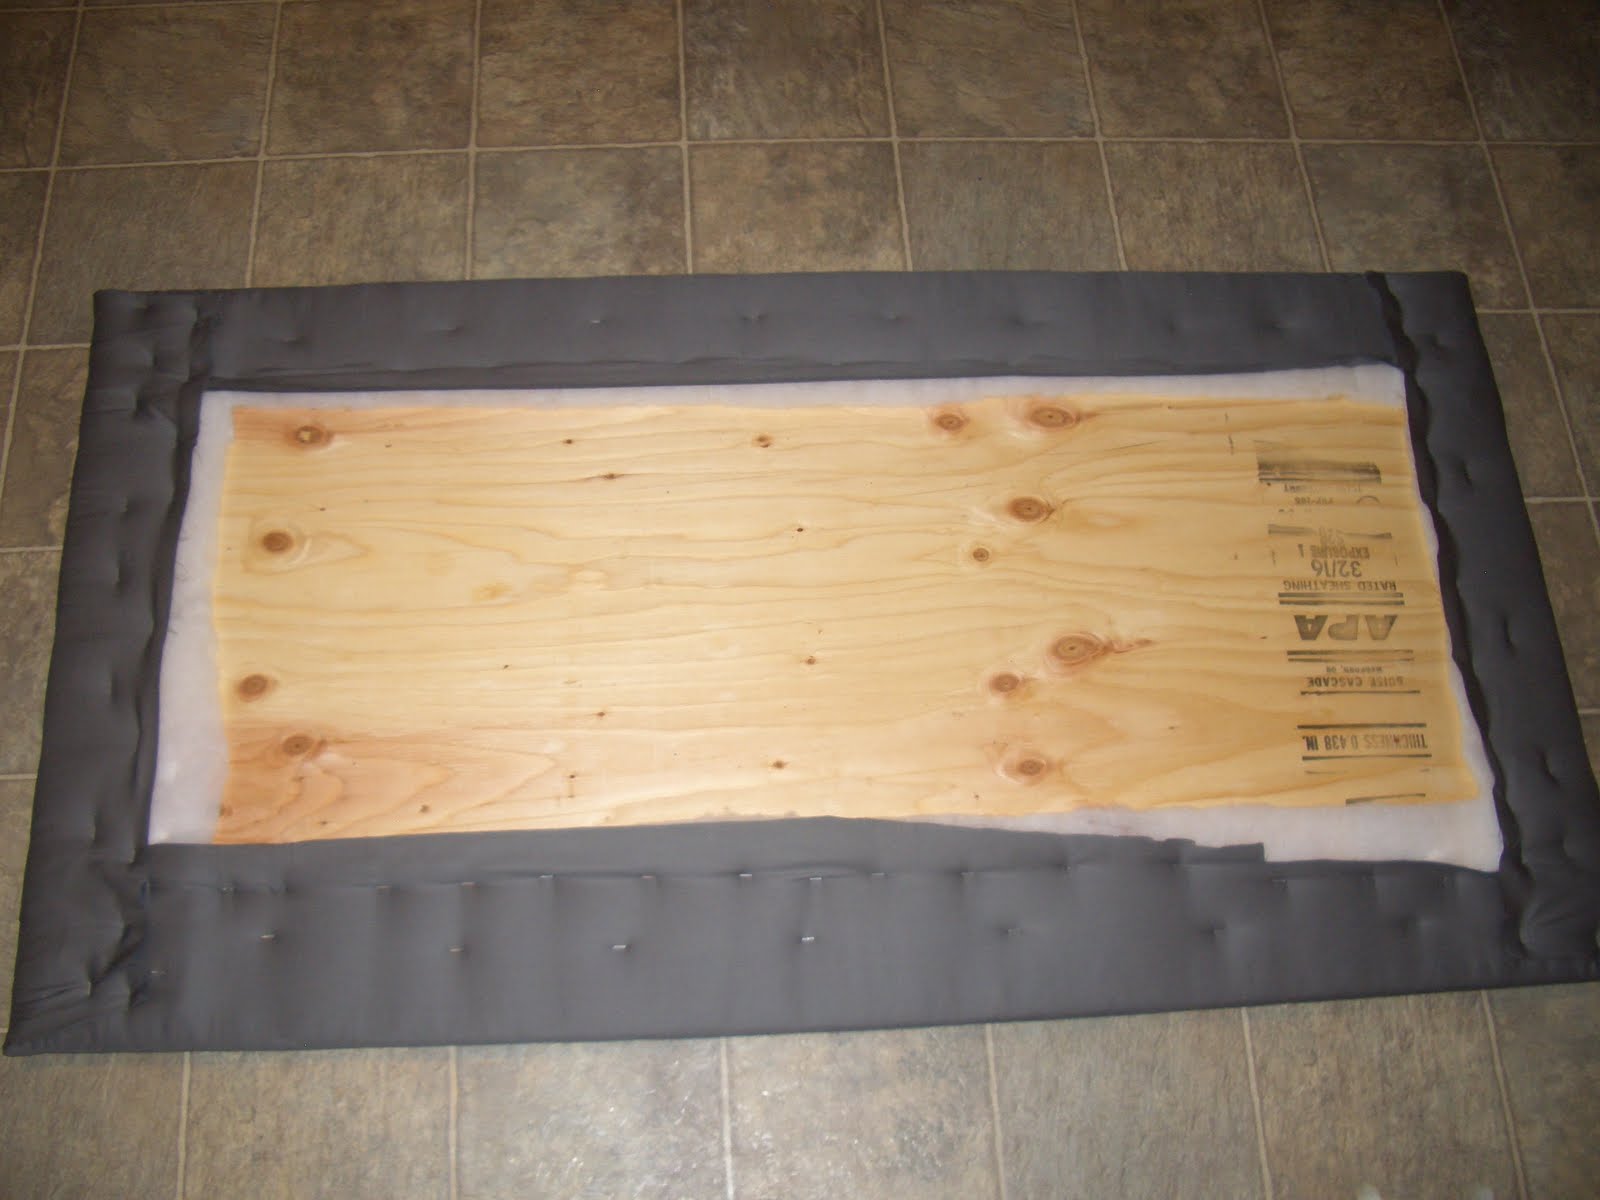
We laid out the plywood, and put the foam on. We used spray adhesive because we had it on hand and it ended up being necessary becauase we had to add extra foam at the bottom of the board. It was nice to have the foam secured when we flipped it over. You can't tell when you see or lay on the headboard that the foam isn't one smooth piece.
Once your foam is on, lay out your batting on the floor. Make sure it is flat or you will be able to see the wrinkles through your fabric. Flip the foam headboard over and place it face down on the batting. Wrap the fabric around and staple it starting from the middle of the top and bottom and then do the sides. It is helpful to have someone holding the other side so you can both pull tight. Next, lay out your fabric, place your batting headboard on top of the fabric, wrap the fabric around and staple it the same way you did the batting.
Here is what it looked like before we put the buttons on.
The buttons were a bit difficult because my staple gun started to wig out on me. You take a threaded needle through one of your pre-drilled holes in the back of your headboard, pull it through all the layers to the front side, string the button through and thread the needle back through (you will have to find the hole through all the layers). I then stapled the tail of the thread in a zig zag pattern anywhere from 5-8 times, I stapled until I felt the thread was tight. You then push the button on the front as far to the wood as you can get, tighten any thread slack and then tightly staple in a zig zag design like you did with the other end of the thread. I didn't take any pictures of this part, but know it doesn't look pretty, but just make sure the thread is tight. It would also go faster if you had a helper.
Now, on to the mounting. Most tutorials I've seen just mount the headboard to the wall. We are renting and will be moving to another rental in 4 months so we decided to mount ours to our bed frame.
We bought some brackets and used our extra wood scraps to create our own thin versions of 2x4s. We simply measured our bed frame where we would be mounting and measured on our headboard. We then drilled our holes for our bracket screws and and went to town. NOTE: you can't drill through the actual headboard because the fabric gets caught and twisted in the drill. We just took a small nail and hammered our own holes. When we then screwed the screws in, the fabric did not snag at all.
We did some more drilling in order to attach the bottom of the legs to our bed frame and attached the headboard with some nuts and bolts. Wa La! We were done. It's easier than I might have made it sound.
Check out the where we started with our bedroom and what the finished results are.
Before
Then this before
To this final before
(we placed tape on our wall where we would like our headboard to be and then measured it)
To the after
My husband and I love it, not only because it's gorgeous and perfect for our room, but we built it ourselves!