
Know that you do not need every tool in the world. We used our Ikea toolkit and borrwowed my Dad's drill. Lowe's cut the wood for the headboard and the legs for FREE because they were straight cuts.
Here is what we purchased and the dimensions (for a full):
- 1/2" plywood- 55x29
- 1" foam- 55x29
- batting- "twin", it was plenty for us to double layer (at least six inches larger than your foam/wood measurements)
- fabric in dark gray- 70x 41 (add 12 inches to foam/wood measurements and then a couple more inches for your buttons)
- staple gun w/ staples
- plastic buttons- I wanted 2 rows of 4 (button maker included)
- brackets
-nuts and bolts
Making the buttons was my favorite part because they were fun, easy and looked professional when I was done.


First, mark where you want your buttons to be on your plywood and then take a super small drill bit and drill the holes.
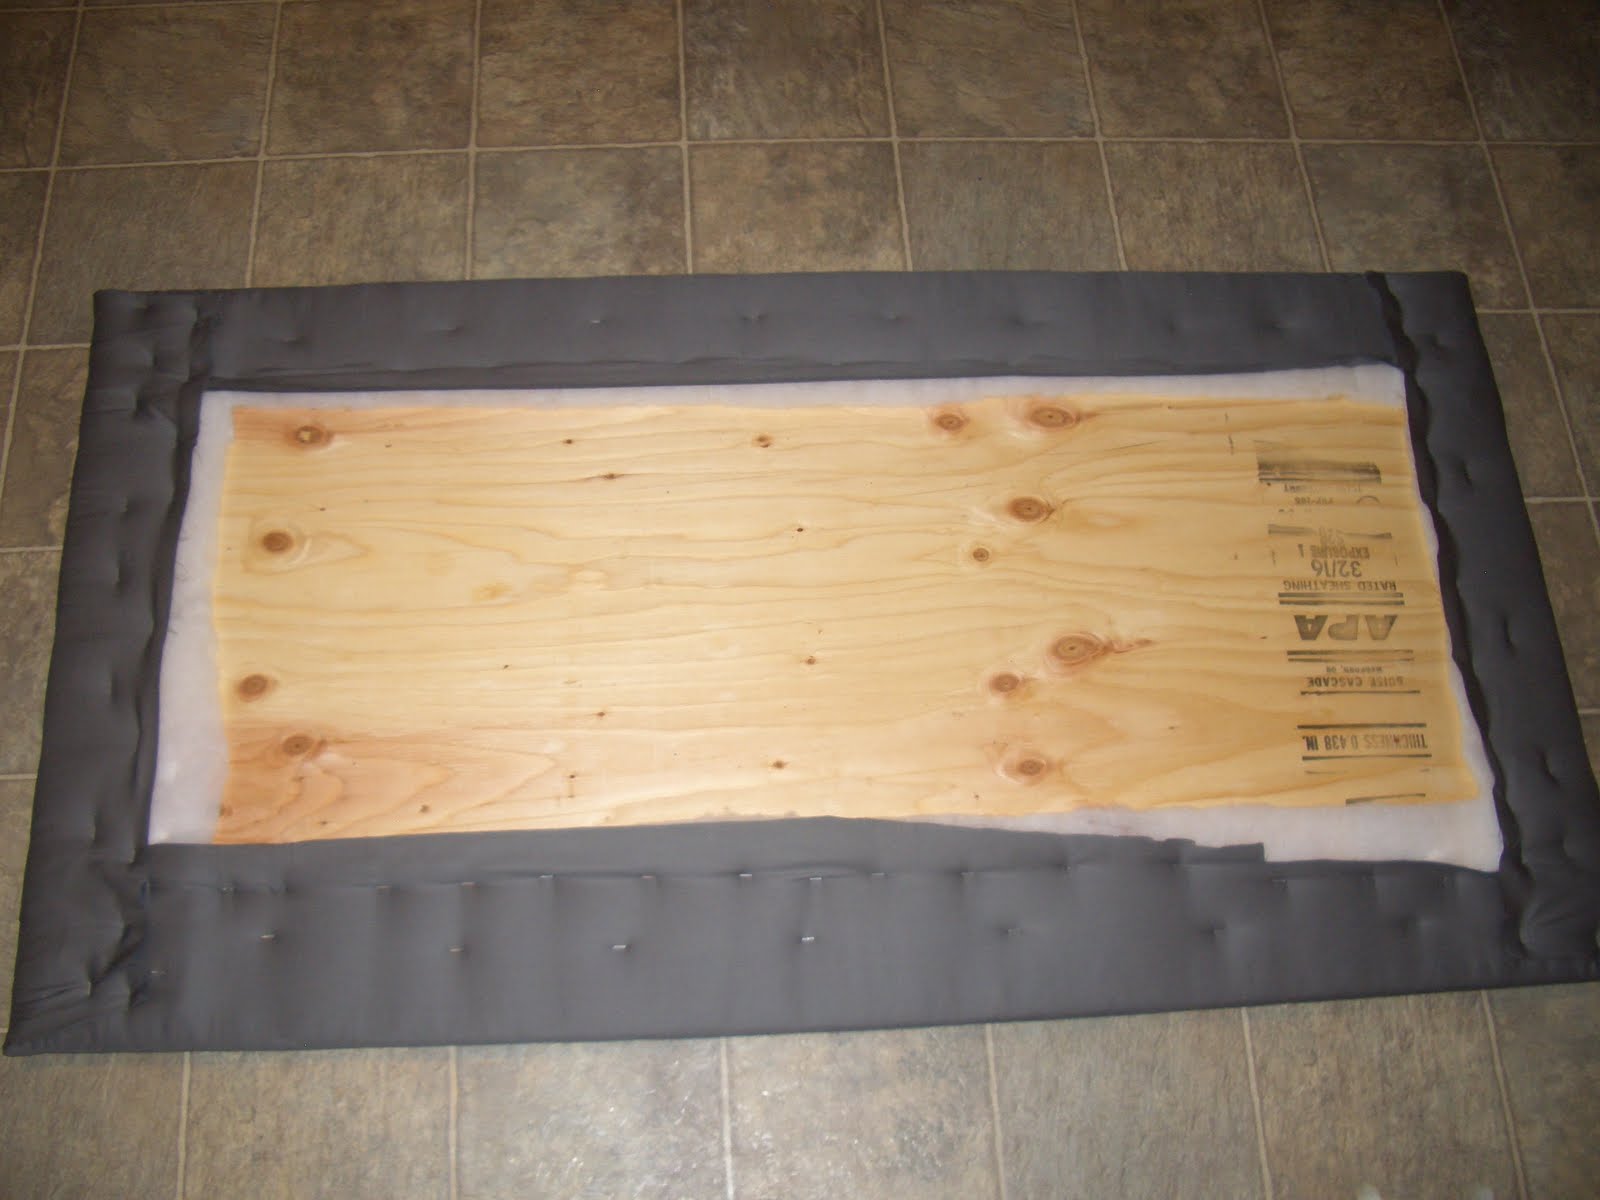
We laid out the plywood, and put the foam on. We used spray adhesive because we had it on hand and it ended up being necessary becauase we had to add extra foam at the bottom of the board. It was nice to have the foam secured when we flipped it over. You can't tell when you see or lay on the headboard that the foam isn't one smooth piece.

Once your foam is on, lay out your batting on the floor. Make sure it is flat or you will be able to see the wrinkles through your fabric. Flip the foam headboard over and place it face down on the batting. Wrap the fabric around and staple it starting from the middle of the top and bottom and then do the sides. It is helpful to have someone holding the other side so you can both pull tight. Next, lay out your fabric, place your batting headboard on top of the fabric, wrap the fabric around and staple it the same way you did the batting.
Here is what it looked like before we put the buttons on.

The buttons were a bit difficult because my staple gun started to wig out on me. You take a threaded needle through one of your pre-drilled holes in the back of your headboard, pull it through all the layers to the front side, string the button through and thread the needle back through (you will have to find the hole through all the layers). I then stapled the tail of the thread in a zig zag pattern anywhere from 5-8 times, I stapled until I felt the thread was tight. You then push the button on the front as far to the wood as you can get, tighten any thread slack and then tightly staple in a zig zag design like you did with the other end of the thread. I didn't take any pictures of this part, but know it doesn't look pretty, but just make sure the thread is tight. It would also go faster if you had a helper.
Now, on to the mounting. Most tutorials I've seen just mount the headboard to the wall. We are renting and will be moving to another rental in 4 months so we decided to mount ours to our bed frame.

We bought some brackets and used our extra wood scraps to create our own thin versions of 2x4s. We simply measured our bed frame where we would be mounting and measured on our headboard. We then drilled our holes for our bracket screws and and went to town. NOTE: you can't drill through the actual headboard because the fabric gets caught and twisted in the drill. We just took a small nail and hammered our own holes. When we then screwed the screws in, the fabric did not snag at all.

We did some more drilling in order to attach the bottom of the legs to our bed frame and attached the headboard with some nuts and bolts. Wa La! We were done. It's easier than I might have made it sound.
Check out the where we started with our bedroom and what the finished results are.
Before

Then this before
 | |||||||
To this final before

(we placed tape on our wall where we would like our headboard to be and then measured it)
To the after


My husband and I love it, not only because it's gorgeous and perfect for our room, but we built it ourselves!
That. Is. Awesome!!!
ReplyDeleteBe proud girl, I love it!
xo
Kate
Great job! Beautiful bedroom.
ReplyDeleteLisa